The stock Hotend has done an incredible job.
I’ve only ever printed PLA and PETG, so no surprise.
Over its entire lifespan it only chocked on Filament impurities once.
Pheatus DragonFly BMS
BMS only describes the mounting style: Creality-like.
The BMO Version is for replacing E3D V6’s.
It is supposed to have a higher filament flow, or as I like to call it, Heating Efficiency (I’m reusing the old heater from my CR-10).
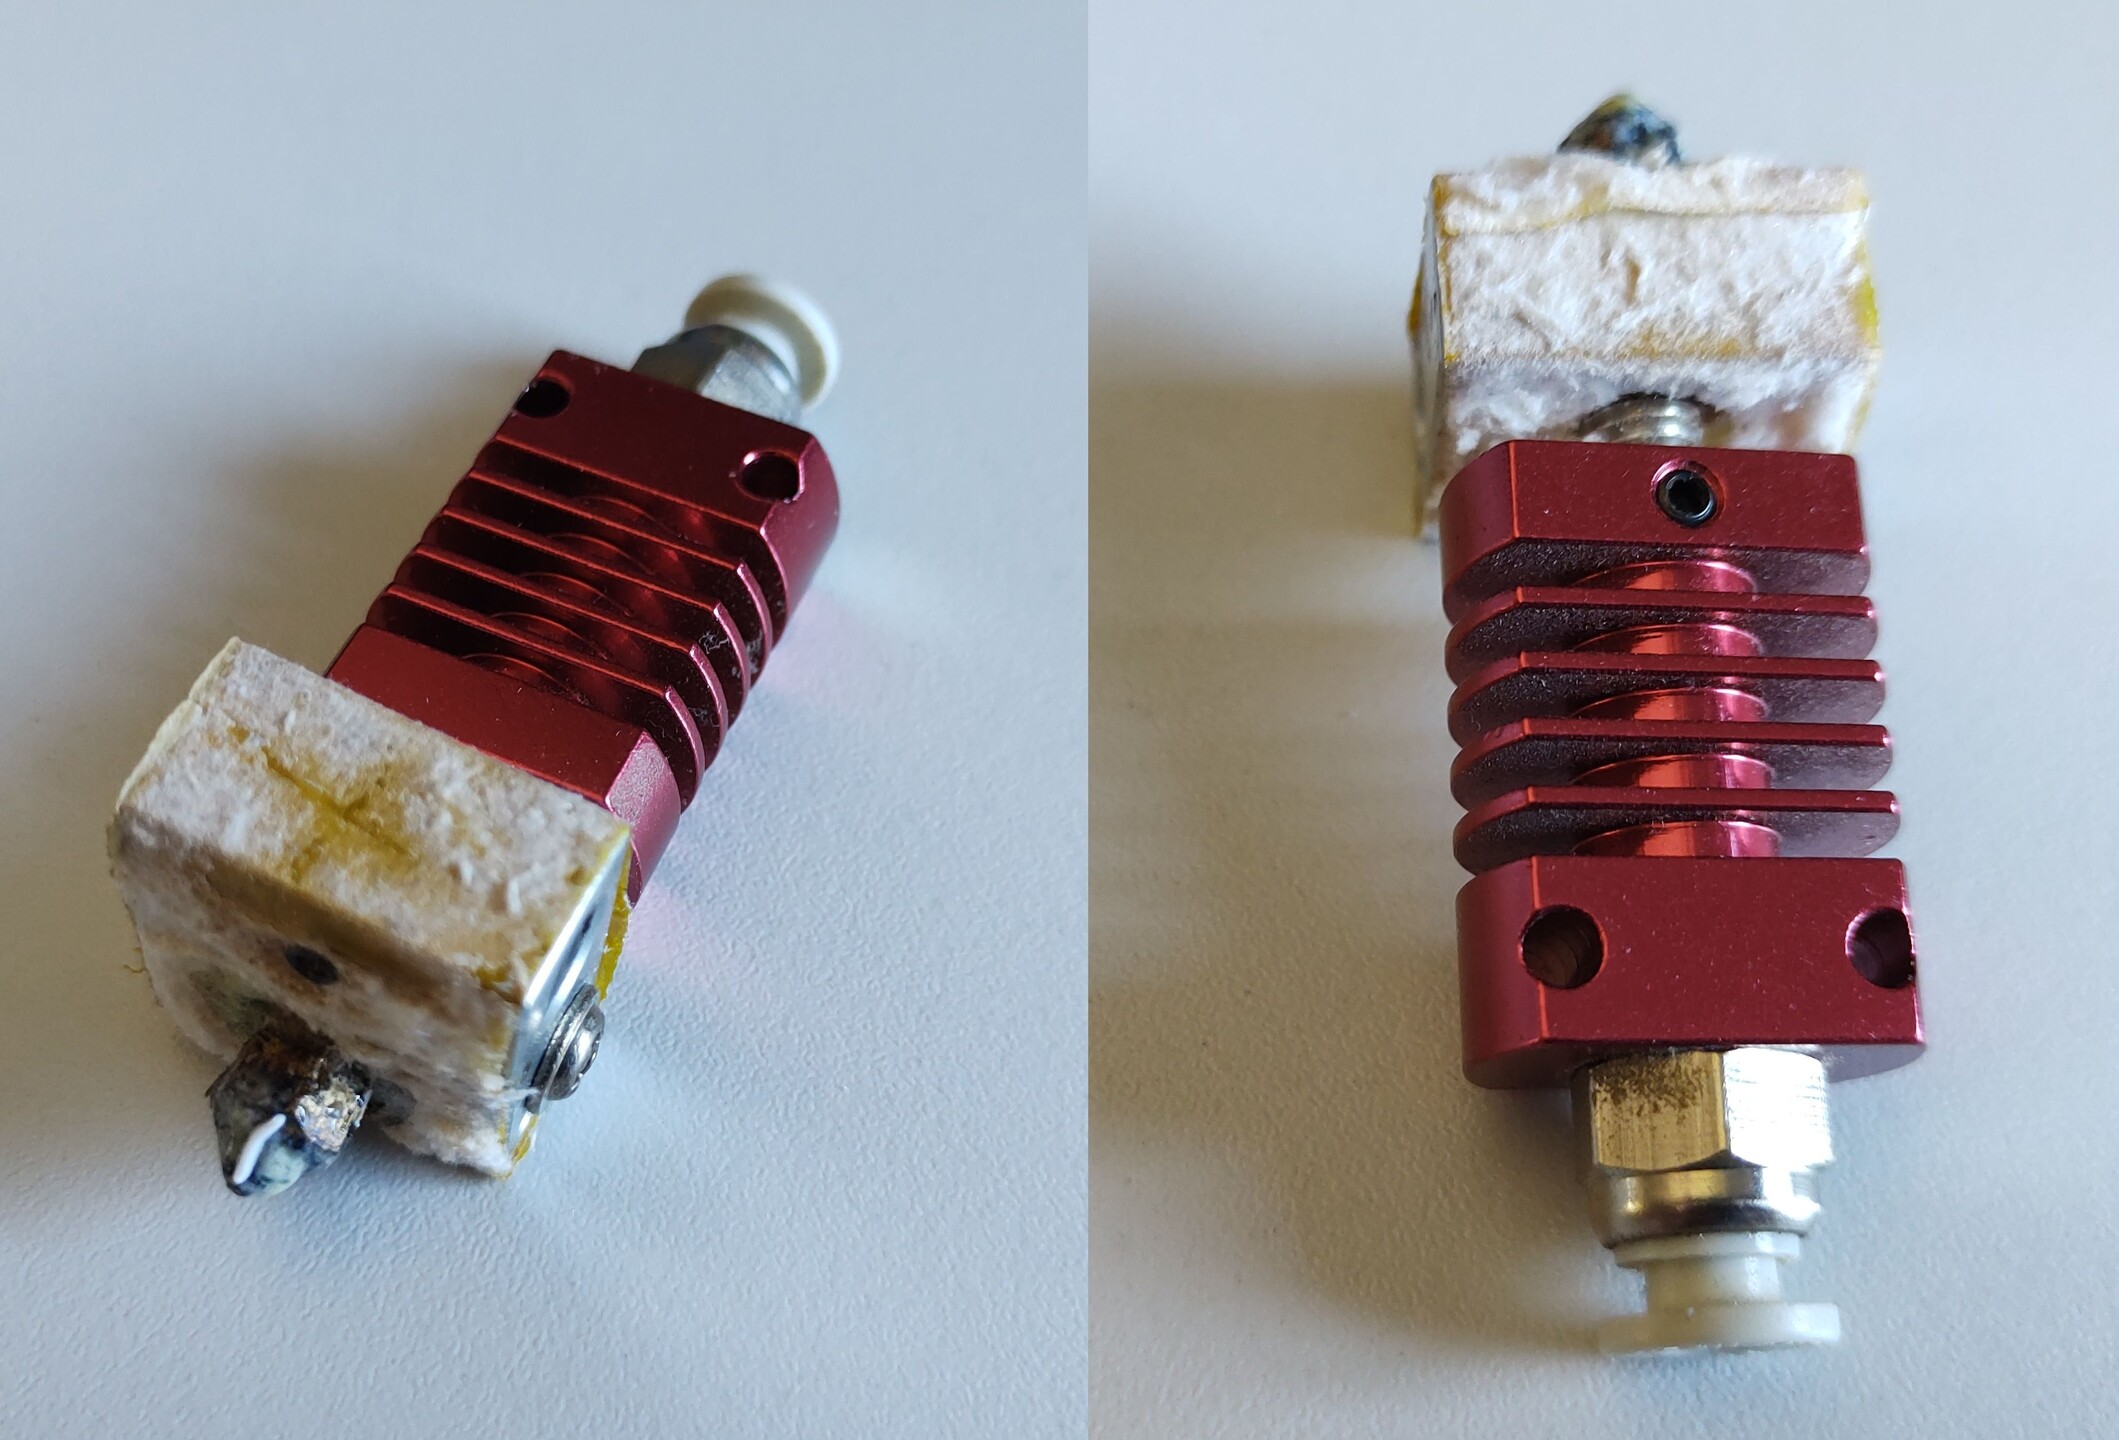
The heatbrake (between the heat sink and heat source) looks very fragile, every single other part blew me away. Construction of this cheap 40€ Hotend is incredible. The only critique is the way it’s heatbreak is mounted to the heat sink.
Heatbrake nitpicks
2 tiny screws push a plate onto a ledge on the heat break, securing it into the heat sink / mount. This interface is tapered, and full copper. Going nuts tightening the nozzle will also turn the hot end of the Hotend. Pun intended. This is better than straight-up breaking the heat break, but it has the side effect of making the before mentioned 2 tiny screws impossible to access, creating a near catch-22. You’d have to unto the heater block from the heat break. redoing the heat break alignment, with the possibility of it all happening again in the end.
Mine is already slightly miss-aligned, but I can still access those tiny screws. I’m also Lazy, see my article on being Lazy with Linux.
Installation
went smoother than I expected, but I didn’t really expect anything easy anyway. The plan was simple:
- Remove the print head shroud
- Discard the old hotend, keeping the heater cartridge and PT1000
- Install the Pheatus DragonFly
- Secure the print head shroud
Sounds easy. The shroud was off in record time. And to remove the bowdentube from the old hotend I simply cut it close to the hotend. It’s still stuck in the old hotend, I can not get it out.
Mounting the DragonFly was a bit more tricky. The package exclaims support for the CR-10. But the DragonFly challenges that claim.
Incident 01
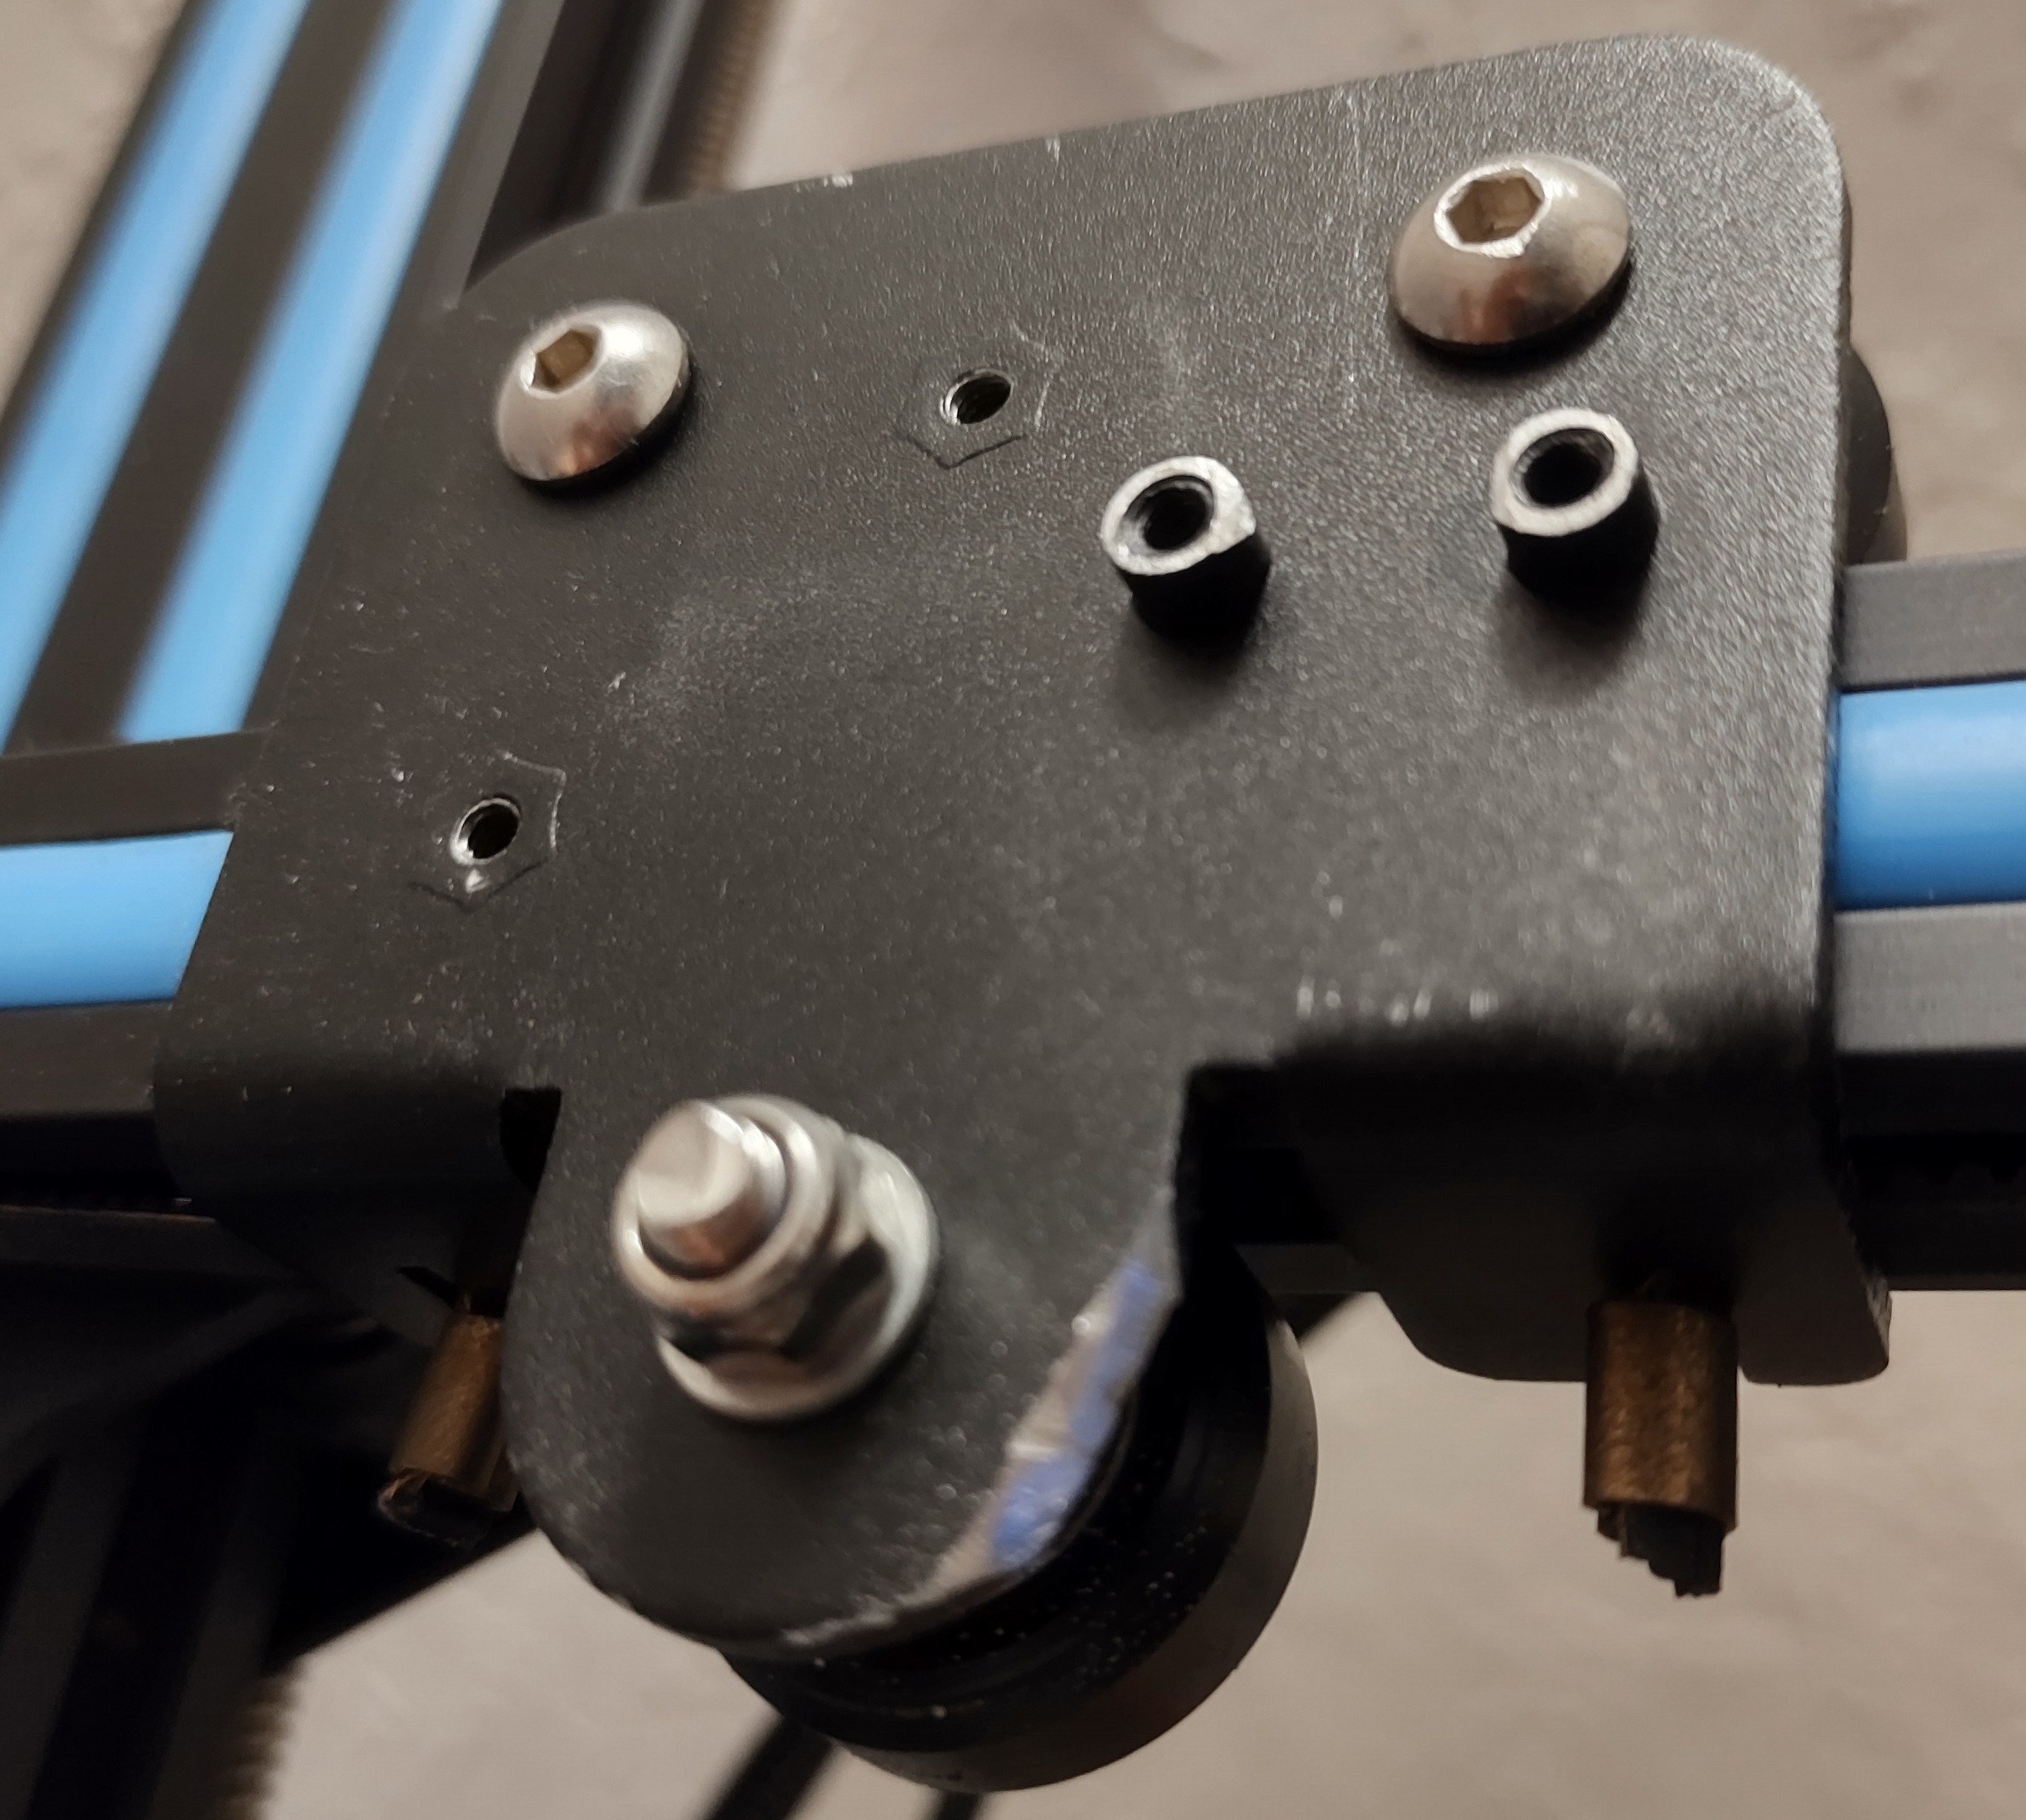
The mount for the hotend was intended for a flat heat sink. The DragonFly heat sink is curved in a way where it cannot be mounted flush to the CR-10 print head. I dusted my file set and put a bevel on the mount. I held the hotend against it to check, and it still wasn’t obeying my commands.
Incident 02
The heater block is jamming against the lower V-Roller mount!!
I retrieved my file set again, and filed the mount out of the way.
The main Issue was it not mounting properly, but after another test fit, I noticed I probably wouldn’t be able to get the silicone sock off.
A little more filing, trying to escape the prison of bad buying decisions and tolerances
and we are finally ready to put the heater core and temperature sensor back!
All done
I lubed the heater core with thermal grease that was included with the DragonFly. I did the same for the Temperature sensor that goes into a bronze cap and then into the heater block. (WHY?)

The First Benchy was basically identical in quality to the previous hotend. Soooo… Was it worth it?
I will figure out with time, but I think It has been worth it. Though, It does look pretty chick. Together with the other upgrades this saga will continue. (and be worth it I promise)