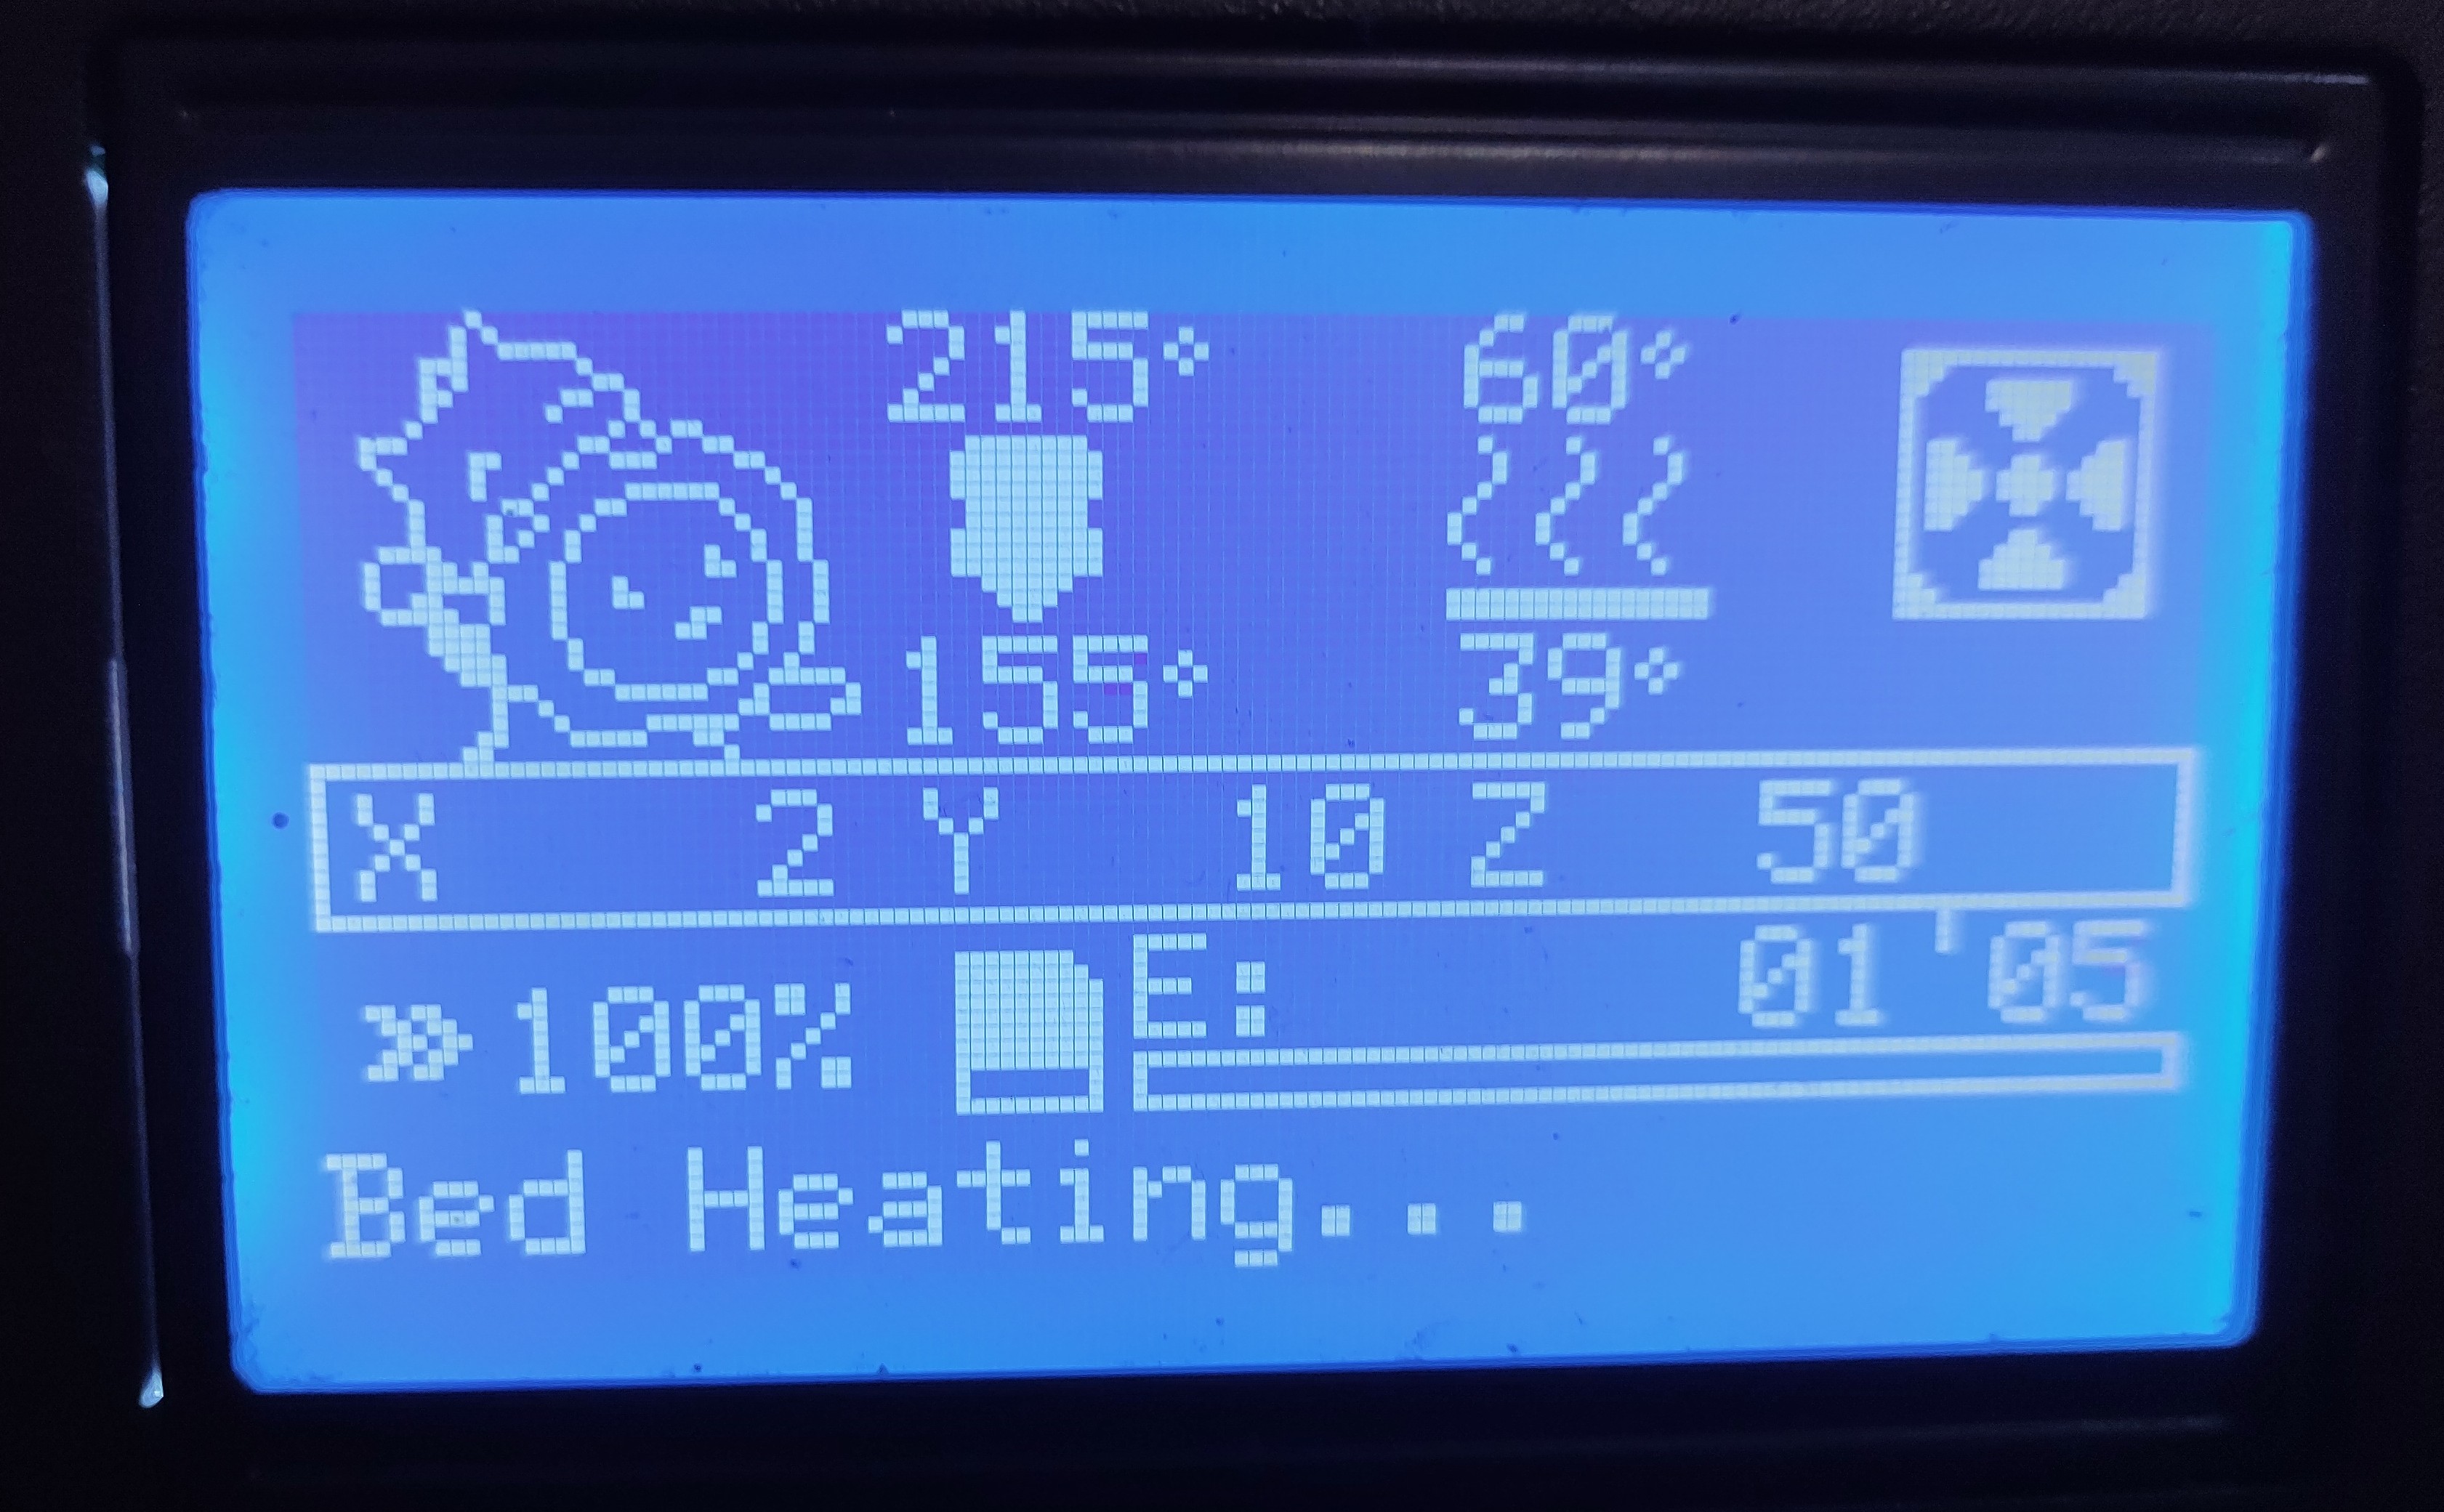
The CR-10 has had 1 (one) Firmware update done to it since I’ve owned it.
I once compiled a new Marlin 1.X Version to it. At time of writing, current version is 2.1.2.4.
Marlin uses PlatformIO to build firmware and upload it too. PlatformIO can be used with a plugin in VSCode (ew!) or by installing the python library. I always make a virtual environment, so I do not have to deal with versions breaking other projects on my system.
python -m venv venv
source venv/bin/activate
pip install platformio
Configuration
Before we just start building Marlin, we need to configure it properly for our specific 3D Printer. In my case, The Creality CR-10 already comes with a set of configuration files at https://github.com/MarlinFirmware/Configurations.
⚠️ BEFORE DOING ANYTHING ⇾ Select the same version or git tag in the Configuration Repository as in the main Marlin sources.
Good Advice. I choose to customize my configuration and fork it off tag 2.1.2.4 ⇾ my printer configs.
I wrote a little Makefile to fetch the Marlin Firmware, copy my configuration into it, and build it.
Disabling the Beeper
Turning the printer on and pressing the Rotary Encoder Button trigger it. Absolutely disgusting.
I edited the Configuration.h and commented out the Speaker definition:
//#define SPEAKER
Calibrating the Extruder stepping
This one is pretty straight forward. After I uploaded the new version of Marlin, I noticed a warning!
EEPROM needs to be reinitialized.
With this, all my changes from Marlin 1.X were to be overwritten. Including the previous calibration of E-Steps.
First, we need to measure the current extrusion. If we tell the printer to extrude 100mm of Filament, how much does it actually extrude?
For Marlin, go to: Motion -> Move Axis -> E
I let it extrude 100mm three times, to get a more precise reading, after averaging the results.
Second, we need to now the current E-Steps value. This can be easily found in your Printer’s menu under
Configuration -> Advanced Conf. -> Steps/mm -> E-Steps
Let’s calculate the new E-Steps Value.
new E-Steps = old E-Steps * (Issued Extrusion Length)/(Extruded Length)
Let’s say your printer always only extrudes 80mm when you tell it to extrude 100mm. Your current E-Steps are 25. To get it to extrude the full 100mm, you’d need to bump up your E-Steps to:
new E-Steps = 25 * 100mm/80mm = 31.25
You could just change the E-Steps via your printers interface, but I decided to edit the Firmware Configuration. You want to modify this section:
/**
 * Default Axis Steps Per Unit (linear=steps/mm, rotational=steps/°)
 * Override with M92
 *      X, Y, Z [, I [, J [, K...]]], E0 [, E1[, E2...]]
 */
#define DEFAULT_AXIS_STEPS_PER_UNIT   { 80, 80, 400, 102.7 }
For my simple Cartesian Printer it is: X, Y, Z, E0.
⚠️ Your Printer stores the old E-Steps in EEPROM, after flashing, re-initialize your EEPROM.
Adding my custom logo (same as my website)
There is already a great tool for this.
Simply create an Image from scratch or downscale one (manual touch ups might be required) and upload it to that site.
Then paste the C-Array into your _Bootscreen.h or _Statusscreen.h.
And again we flash the Firmware.

Afterprint
While doing a couple test prints after uploading Marlin 2.1.2.4 and doing a calibration for the Extruder steps,
I noticed the Extruder Bowden tube mount was a little loose:
Join us next time, when we rebuild the extruder with a cheap AliExpress Special: a full metal dual gear extruder. In red for speed.