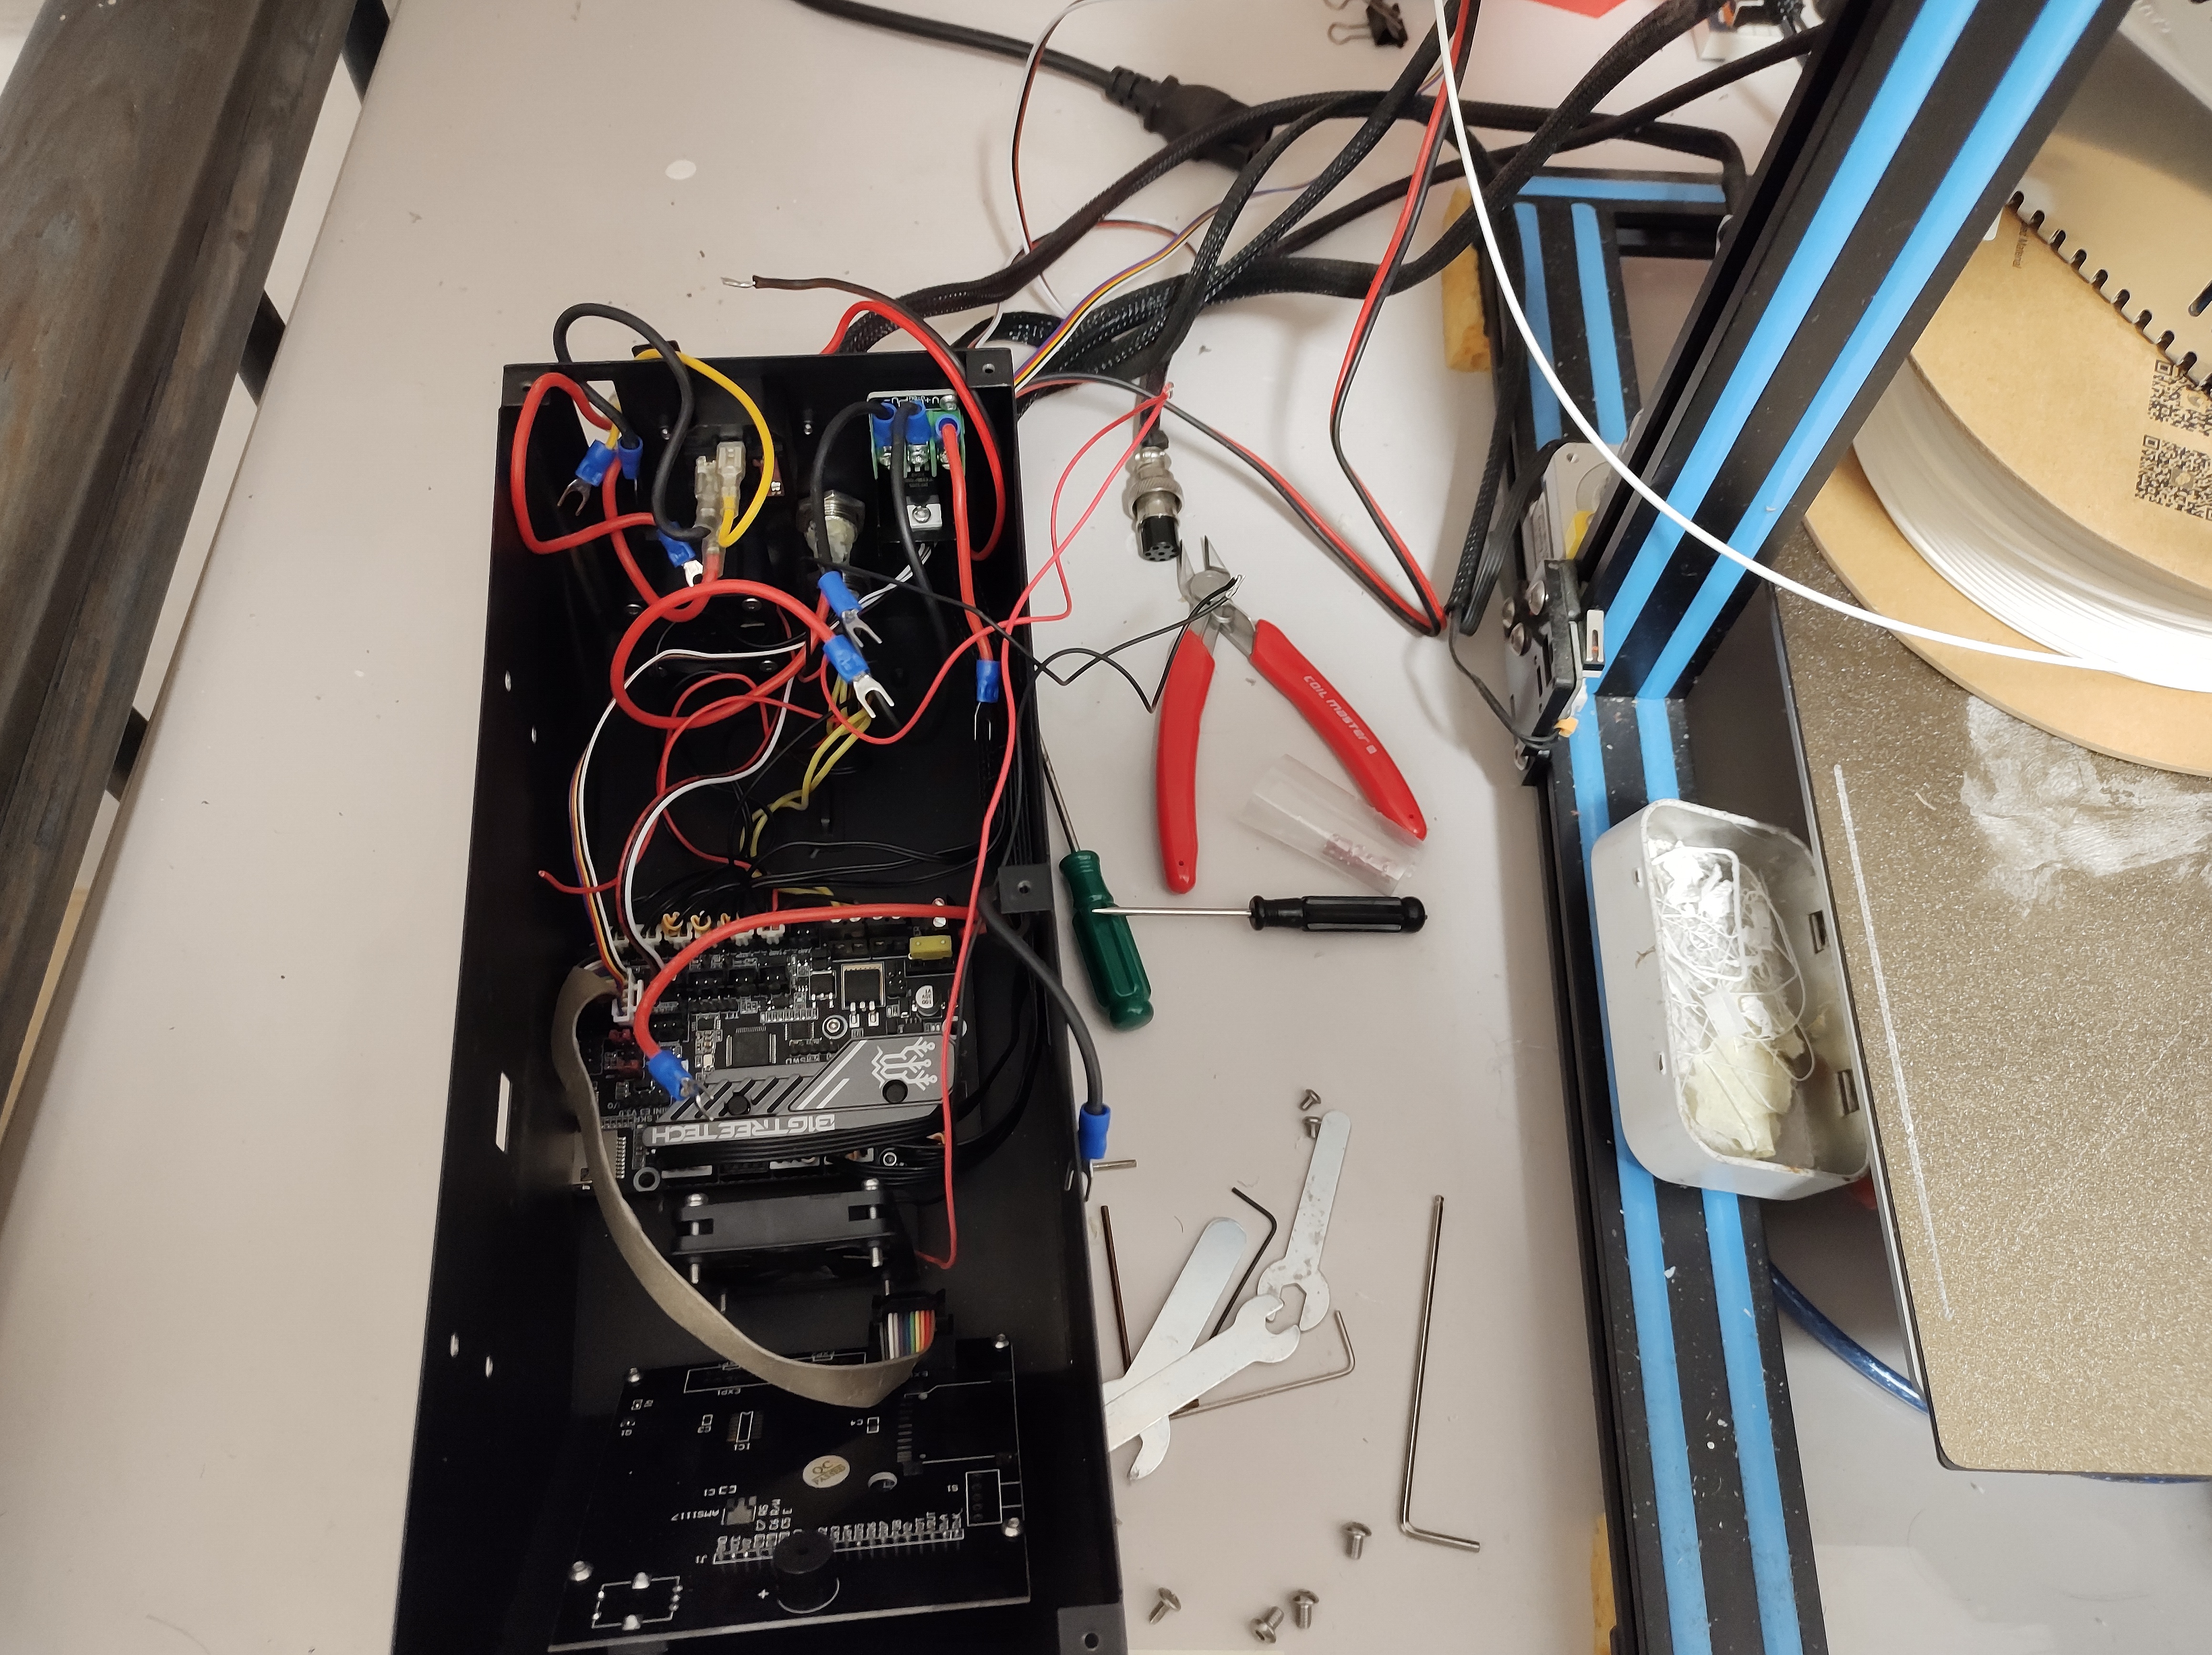
It is time to install the new 32-bit controller board. Installing it in the old chassis should be straight forward!
Most things I do have already been planned to death in my head, so these things usually turn out with low severity surprises. This is not one of them. Things have gone south.
The Upgrade
The 32-bit board I’m using is the BigTreeTech SKR Mini E3 V3.0 (using the STM32G0B1 MCU). It has a lot more IO than the stock board:
- 2 more software controllable Fan headers
- Neopixel / WS2812
- Z Probe
- second Z Axis Motor Connector (single driver though)
- Extruder Endstop aka Filament runout Sensor
Still no USB-C :(
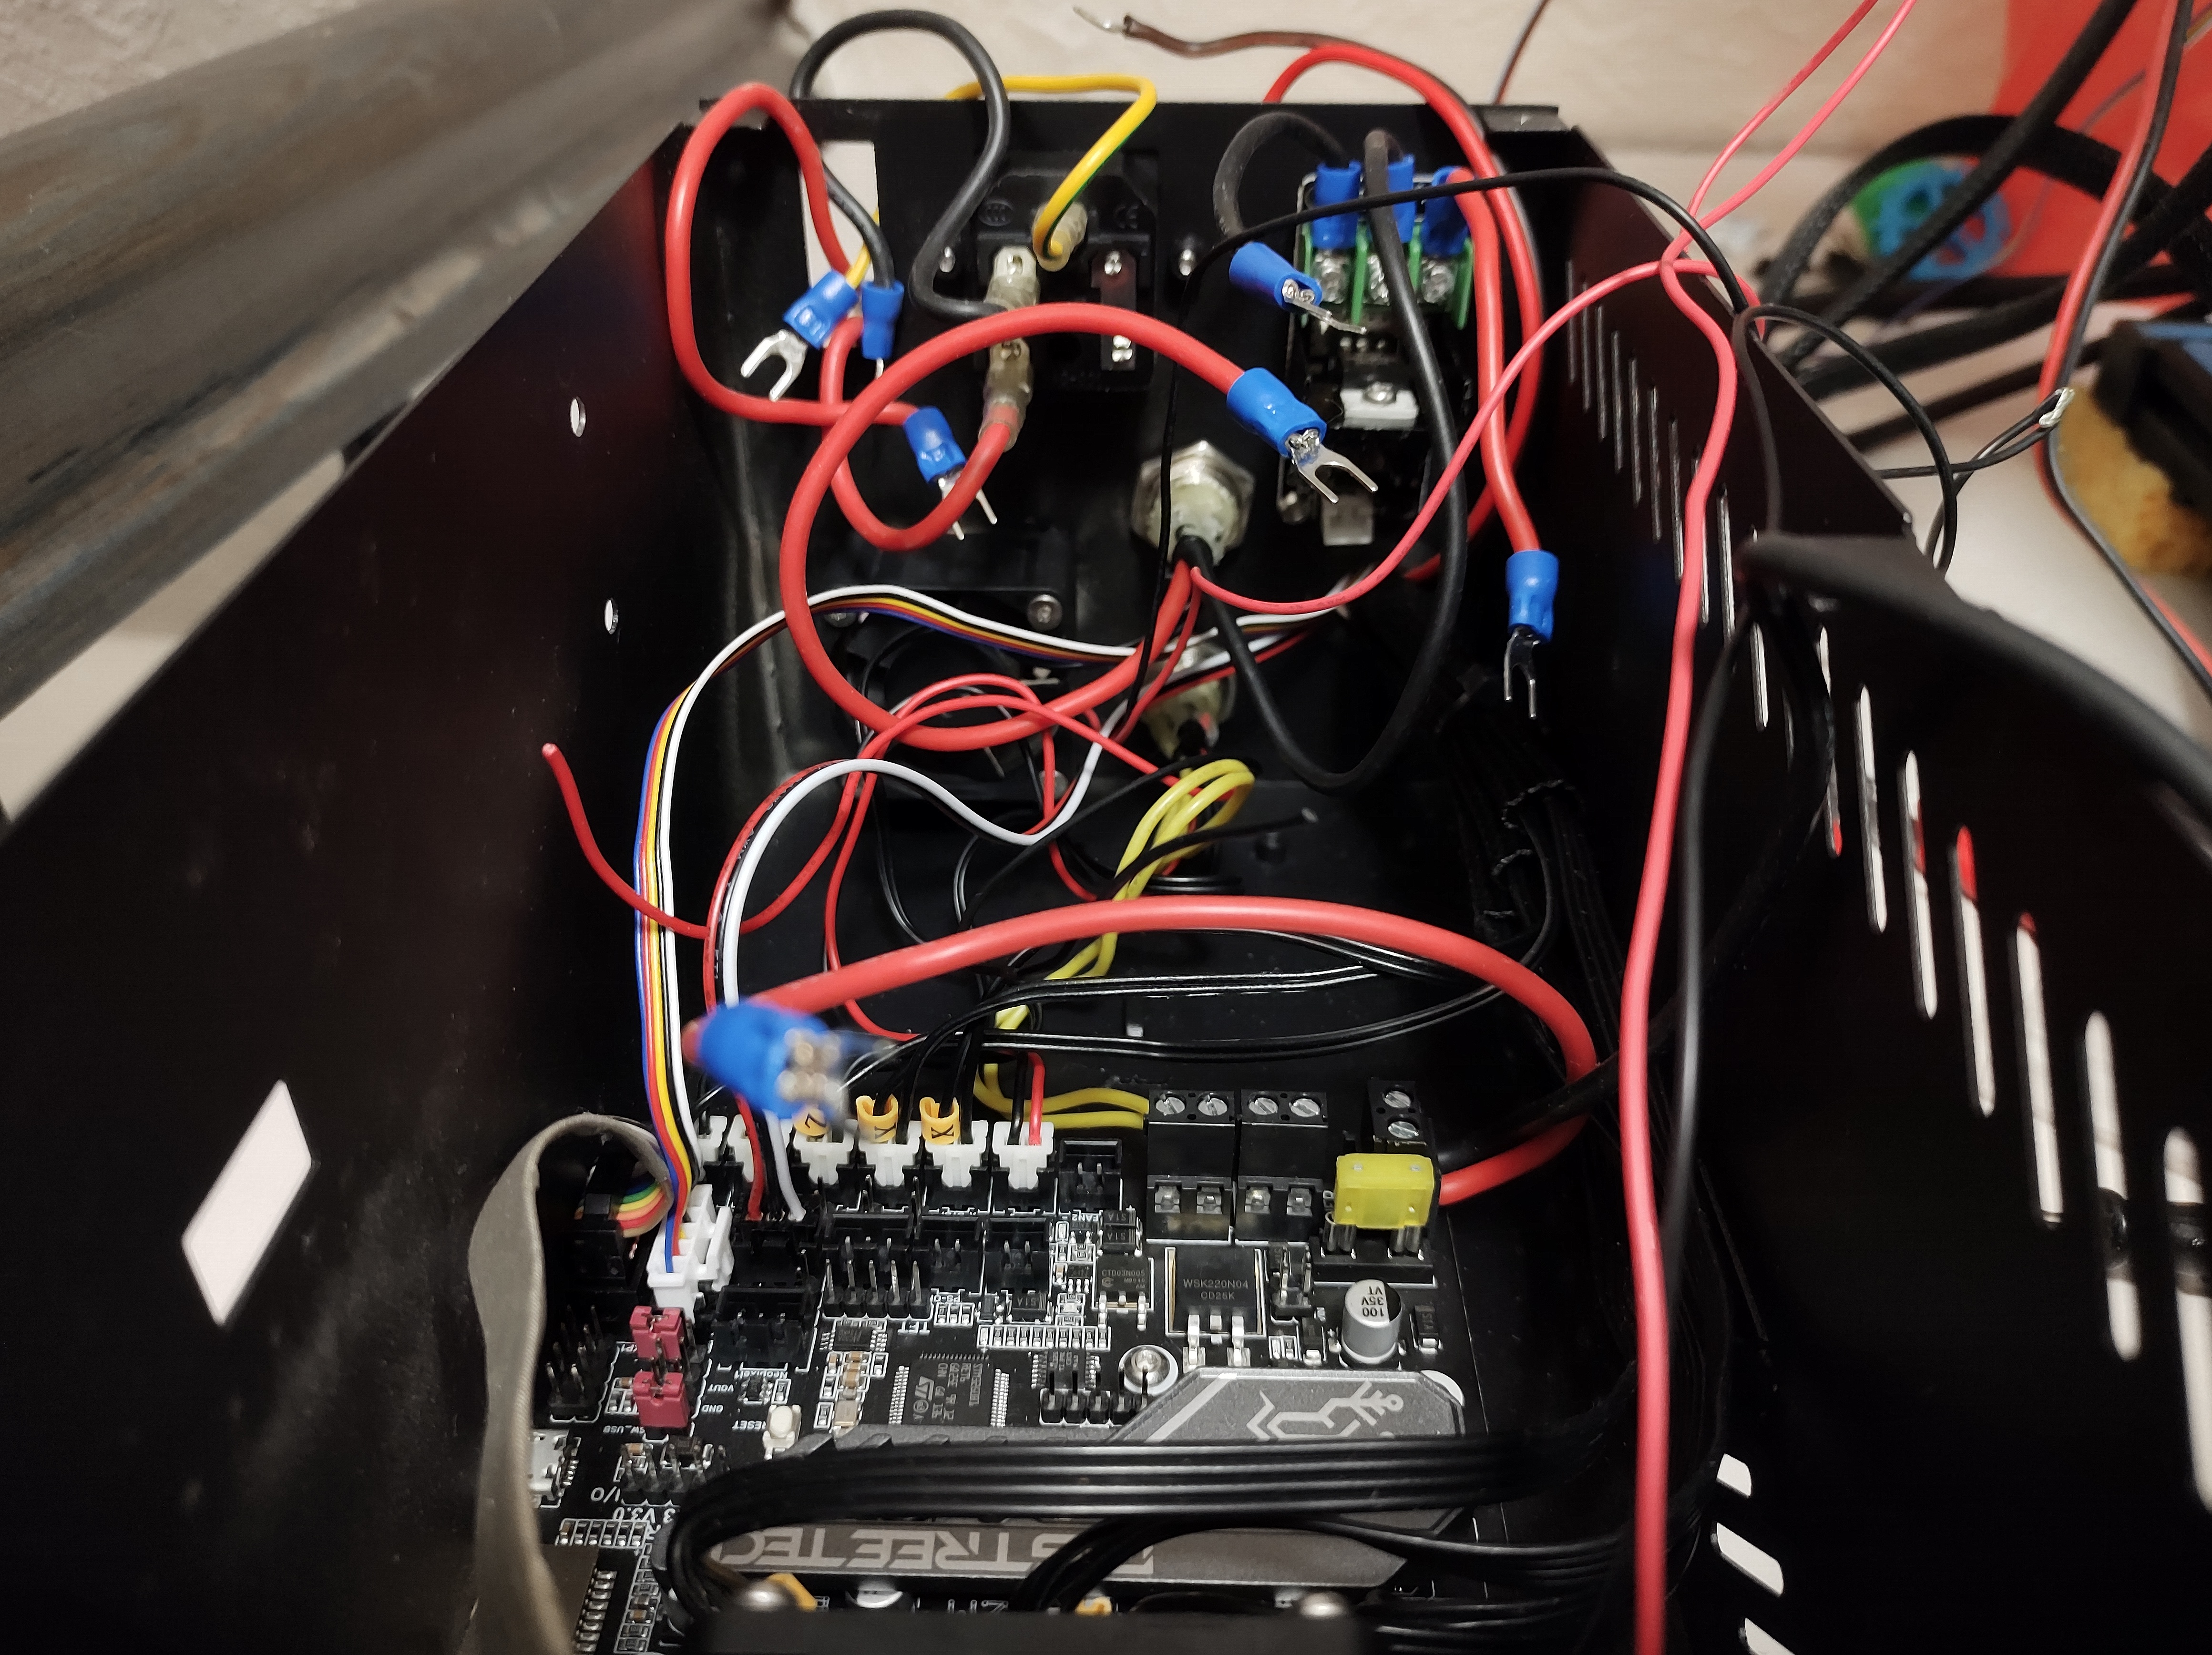
Ignore my little 3D printing scraps Altoids bin.
Connecting everything was major trouble, I had to reference the user guide and datasheet of the SKR Mini a lot. I also had to dig through my cable scraps to find some spare JST Connectors to splice to existing cabling for the fans. I also had to de-pin and switch the connections of one of the existing fan connectors.
Marlin - The Software
In honor to the stock 8-bit board, I split my Marlin configuration up into 8- and 32-bit. Because my 32-bit configuration will have a lot more features enabled compared to the 8-bit one.
For the 32-bit board I had in mind to:
- Enable the CR-Touch sensor
- Enable the Filament runout sensor
- Split the Fans into multiple zones
- preemptive enabling of the Neopixels
BL or CR-Touch and Auto Bed Leveling
Let’s get to the most painful part straight away. This was tough to set up and only after a day of tinkering I found why, but I am getting ahead of myself.
Installing the sensor was easy as pie. Just plug the long cable that’s included with the CR-Touch straight into the new mainboard.
The problem is the Marlin Configuration(s):
#define AUTO_BED_LEVELING_BILINEAR
// or
#define AUTO_BED_LEVELING_UBL
// and comment out:
//#define MESH_BED_LEVELING

#define Z_SAFE_HOMING
#define BLTOUCH
#define PROBING_FANS_OFF
You want to enable the #define BLTOUCH and the definition PROBING_FANS_OFF turns the fans off during probing, which can result in more accurate bed meshes.
AUTO_BED_LEVELING_BILINEAR or UBL are explained in the Configuration files (read carefully!!).
These actually enable the compensations for uneven beds.
A Problem surfaces
The obvious Issue arises: what will the Printer do with the additional Z-Axis Endstop? Let’s answer this question later, as a first test print of mine right after flashing the new firmware didn’t work. The printer would preheat, home itself, and would not print the model at all. The print head was hovering in midair, while humming the steppers. And the screen would fast-forward the estimated print loading bar in mere seconds.
Solution: Use the Z-Probe as the Z Endstop
As I found out later, Marlin didn’t work with two Z Endstops.
When enabling the Z-Probe, enable USE_PROBE_FOR_Z_HOMING and follow the instructions in that section.
I also had to disable the next setting as my probe was connected to another pin:
//#define Z_MIN_PROBE_USES_Z_MIN_ENDSTOP_PIN
Look at your board’s schematic if available, or check the pin configuration in Marlin source code (for your version of Marlin) under Marlin/src/pins.
I could finally probe the bed to generate the meshes and print a victory Benchy! Note: I’m not sure if my stock Z Endstop does anything now…
Filament Runout Detection
As Murphy’s law says, things that can go wrong, will.
And in my experience, things have great comedic timing too.
Just 1 (one) print before I got to install the SKR Mini, CR-Touch and runout sensor, I ran out of Filament.
That was a 9-hour print, but I only noticed this when it was too late.
The nozzle moved around in midair, perfectly happy, pretending to print.
See How to resume a failed print via filament runout.
I installed the sensor already, but had to wait till I installed the new mainboard to actually make use of it. 🤡
I used this thing to mount the sensor in combination with a sponge that hopefully cleans dust and grime off of the filament as the extruder drags it in.
Enabling the runout sensor in Marlin is pretty straight forward.
// had to swap the polarity:
#define FIL_RUNOUT_STATE HIGH
// enable the sensor:
#define FILAMENT_RUNOUT_SENSOR
I only noticed that I had to swap the sensor polarity after a somewhat weird incident. When starting a print, It would directly start a filament change, as the printer thought there was no filament present!
Fan Zones
What a delight that the new mainboard allows 3 separate fans to be speed controlled individually! One for the part cooling fan, obviously, and additionally the hotend cooling fan. The 2 fans inside the controller box were spliced together and get the same treatment.
If we enable the following settings, Marlin will spin the fans up only if the Motor Controllers or the hotend are active.
Again, look up the Pin names in Marlin/src/pins/<your mcu here>.
// for the 2 fans in the controller chassis
#define USE_CONTROLLER_FAN
#define CONTROLLER_FAN_PIN FAN2_PIN
// also made it slower!
#define CONTROLLERFAN_SPEED_ACTIVE 200

// the extruder fan:
#define E0_AUTO_FAN_PIN FAN1_PIN
You could also let the controller fan kick in when the board reaches a certain temperature (I didn’t bother)
// Use TEMP_SENSOR_BOARD as a trigger for enabling the controller fan
#define CONTROLLER_FAN_MIN_BOARD_TEMP 40  // (°C) Turn on the fan if the board reaches this temperature
Neopixels
I already have a light bar installed on my printer, which just runs off the 12V supply. It’s a mix of warm and cold white LEDs. Fun fact: I got this from a friends’ dad, who decommissions business signs. Those LED modules have a lot of heat sinking and are waterproof. Don’t think of those waterproof WS2812 LED strips, but milled or cast aluminum chunks with LEDs placed in them. Ultra rugged.
At some point, I’ll swap them out for WS2812 LEDs, that can show the status of the printer.
It’s insanely easy to enable too:
#define NEOPIXEL_LED
I just have to open the controller box again, because some idiot forgot to preinstall the cable.
What An Upgrade ❤️
I actually love this printer again, though I can probably get some more speed out of it. Not having to adjust Z while the printer is printing the Skirt or Brim is a godsend. It just always prints perfect first layers! Only when it is actually printing are the fans running! Steppers are completely silent! ❤️
A new foe has appeared!
I was recently gifted a flooded Ender-3. Its history is bleak, as it served as a friends first 3D printer, churning out mostly modelled objects (think art more than engineering). Its nozzle had clogged, and it was left abandoned.
The flooding in that friends basement was severe, and the water stains on it rotted some of the cables and rusted the printers bottom.
I’ve already deep cleaned it and ran some test prints (mostly upgrades for itself, of course).
Addendum from the future
I’m unsure if this printer will get Klipper in the near future. It’s running on the Ender-3 already. It’s great in certain ways, but worse in others. Lots of tradeoffs to consider. If I were to add a Pi to this printer, I’d love to integrate it into the controller box, which likely means designing a new controller box. This post likely concludes the upgrade saga for now!