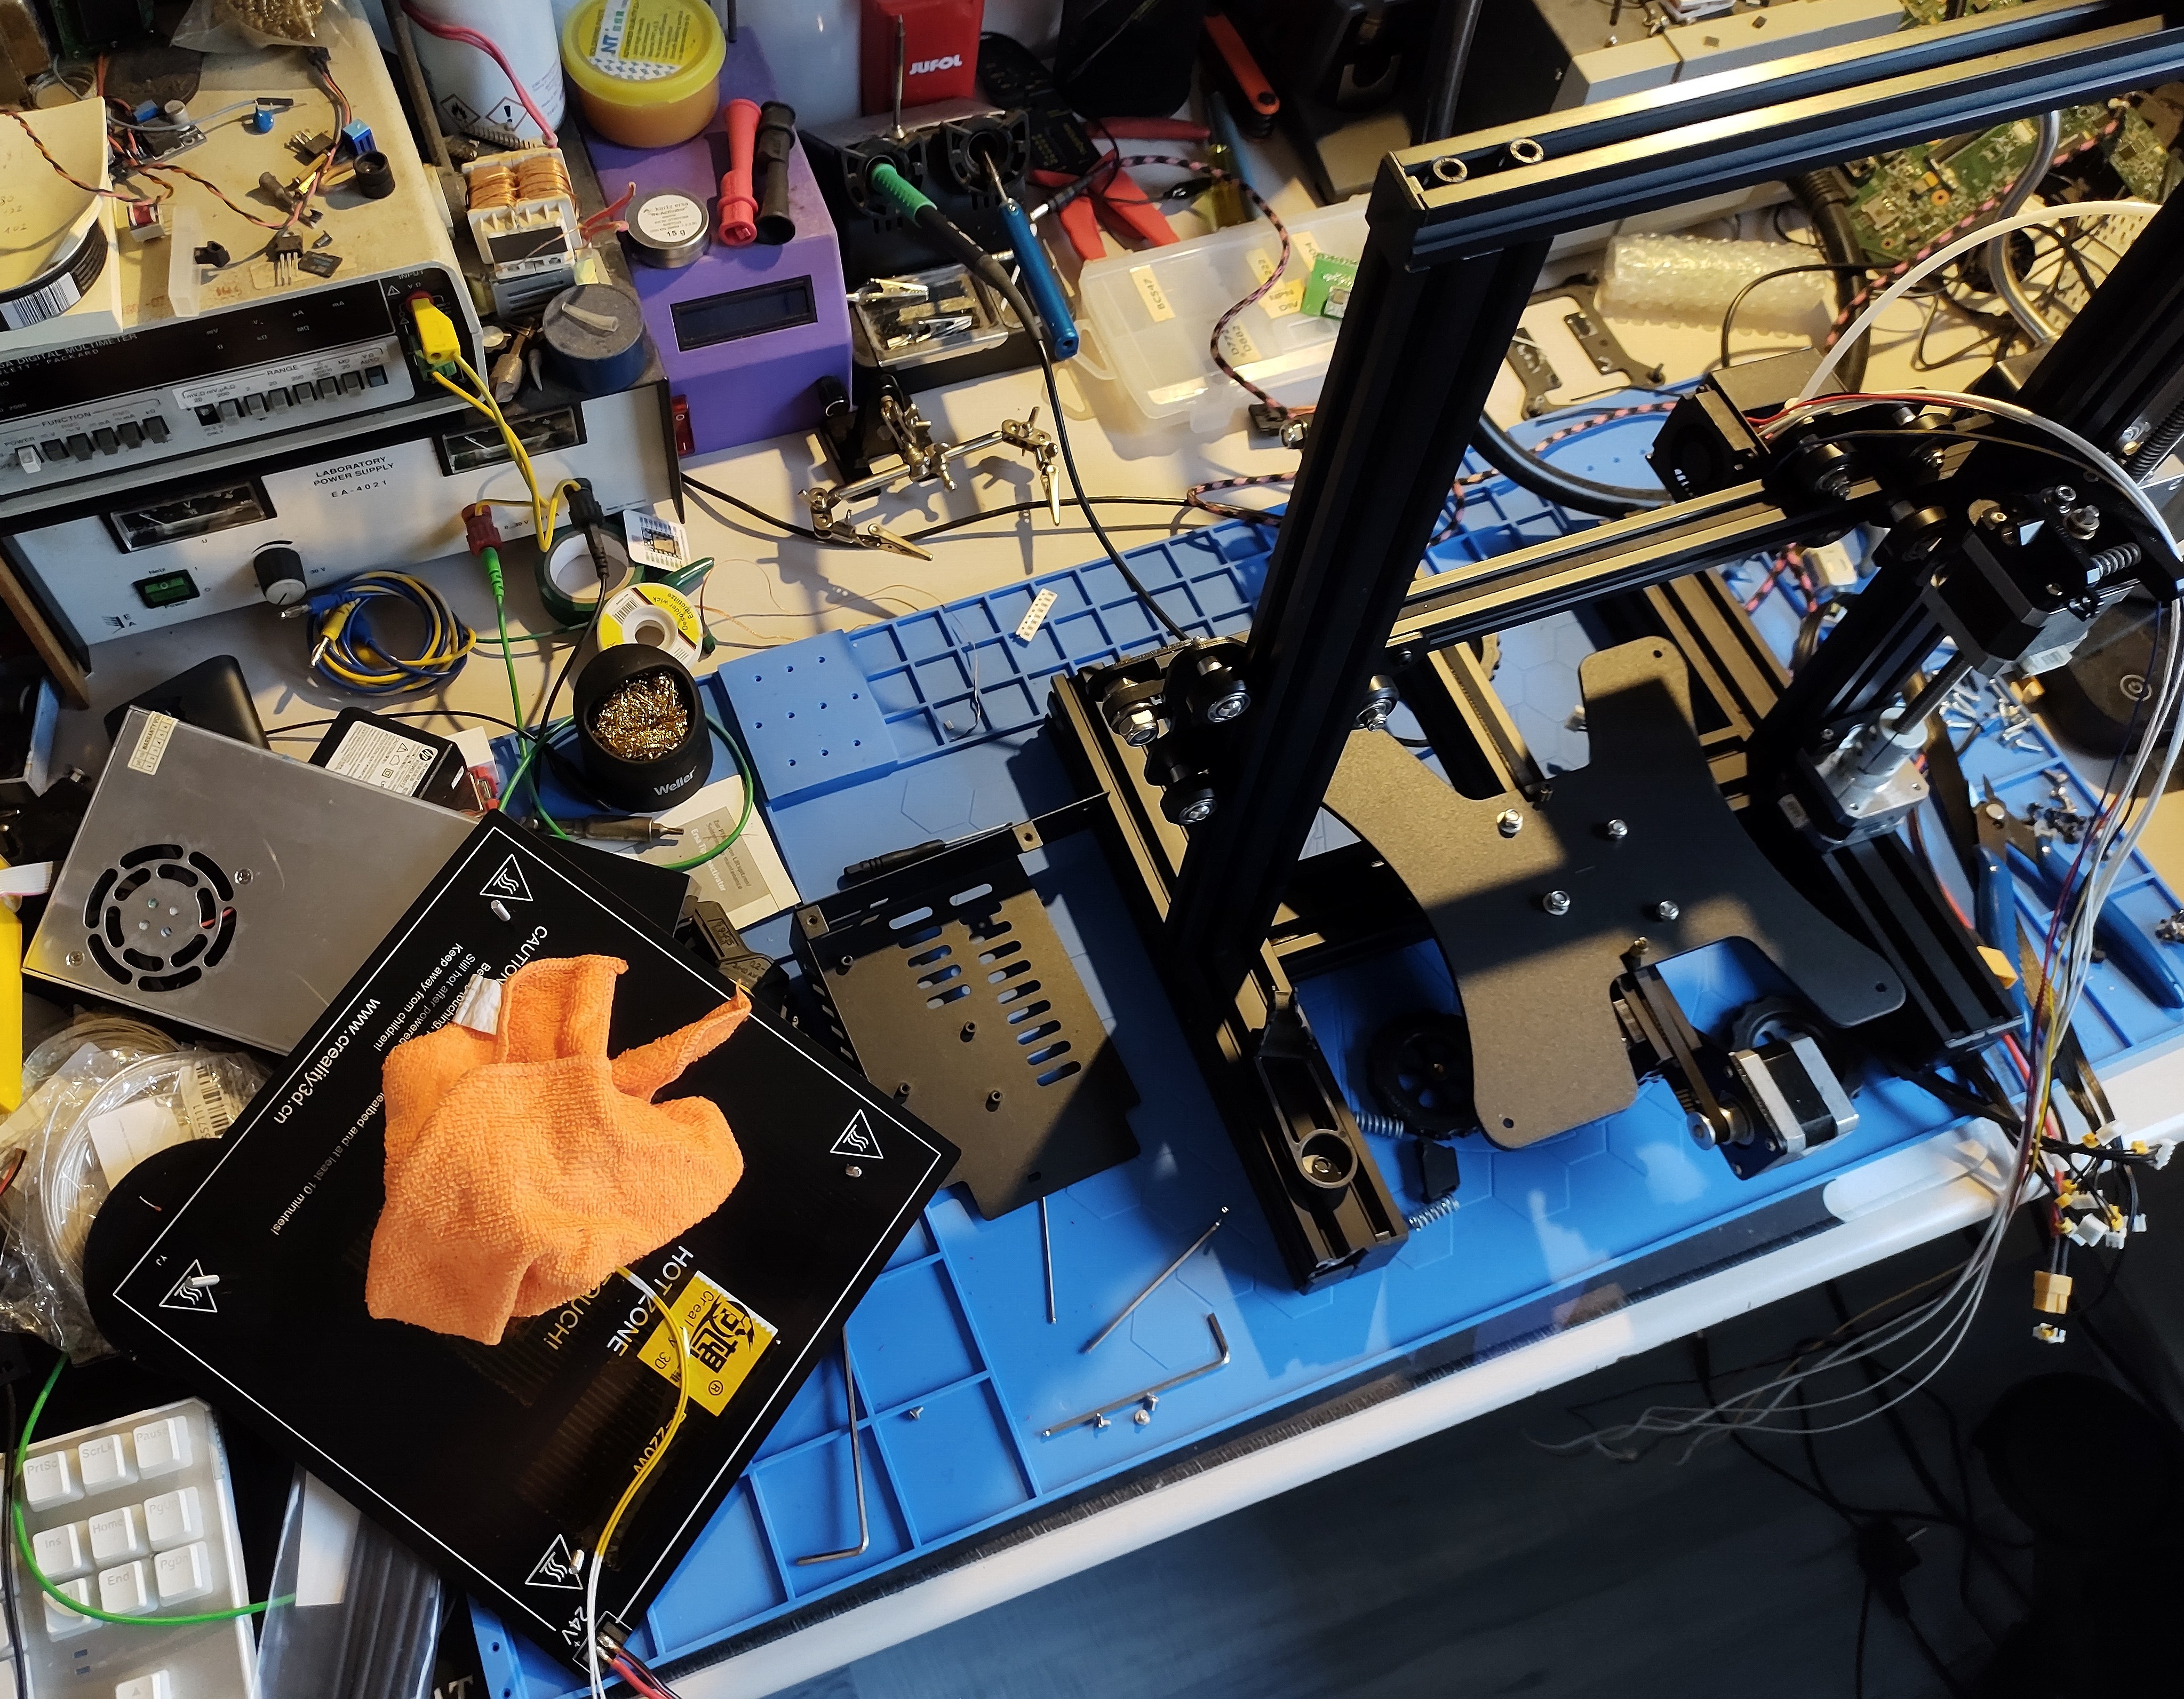
I got an abandoned, rusted, rotten Ender-3 a while back. It was water logged in a friend’s basement. Now it’s time to clean it up and upgrade.
I mostly cleaned it by stripping it down into individual parts (I did not disassemble the frame) and going over everything with a wet microfiber cloth.
Content Warning: rotten cables - click to show
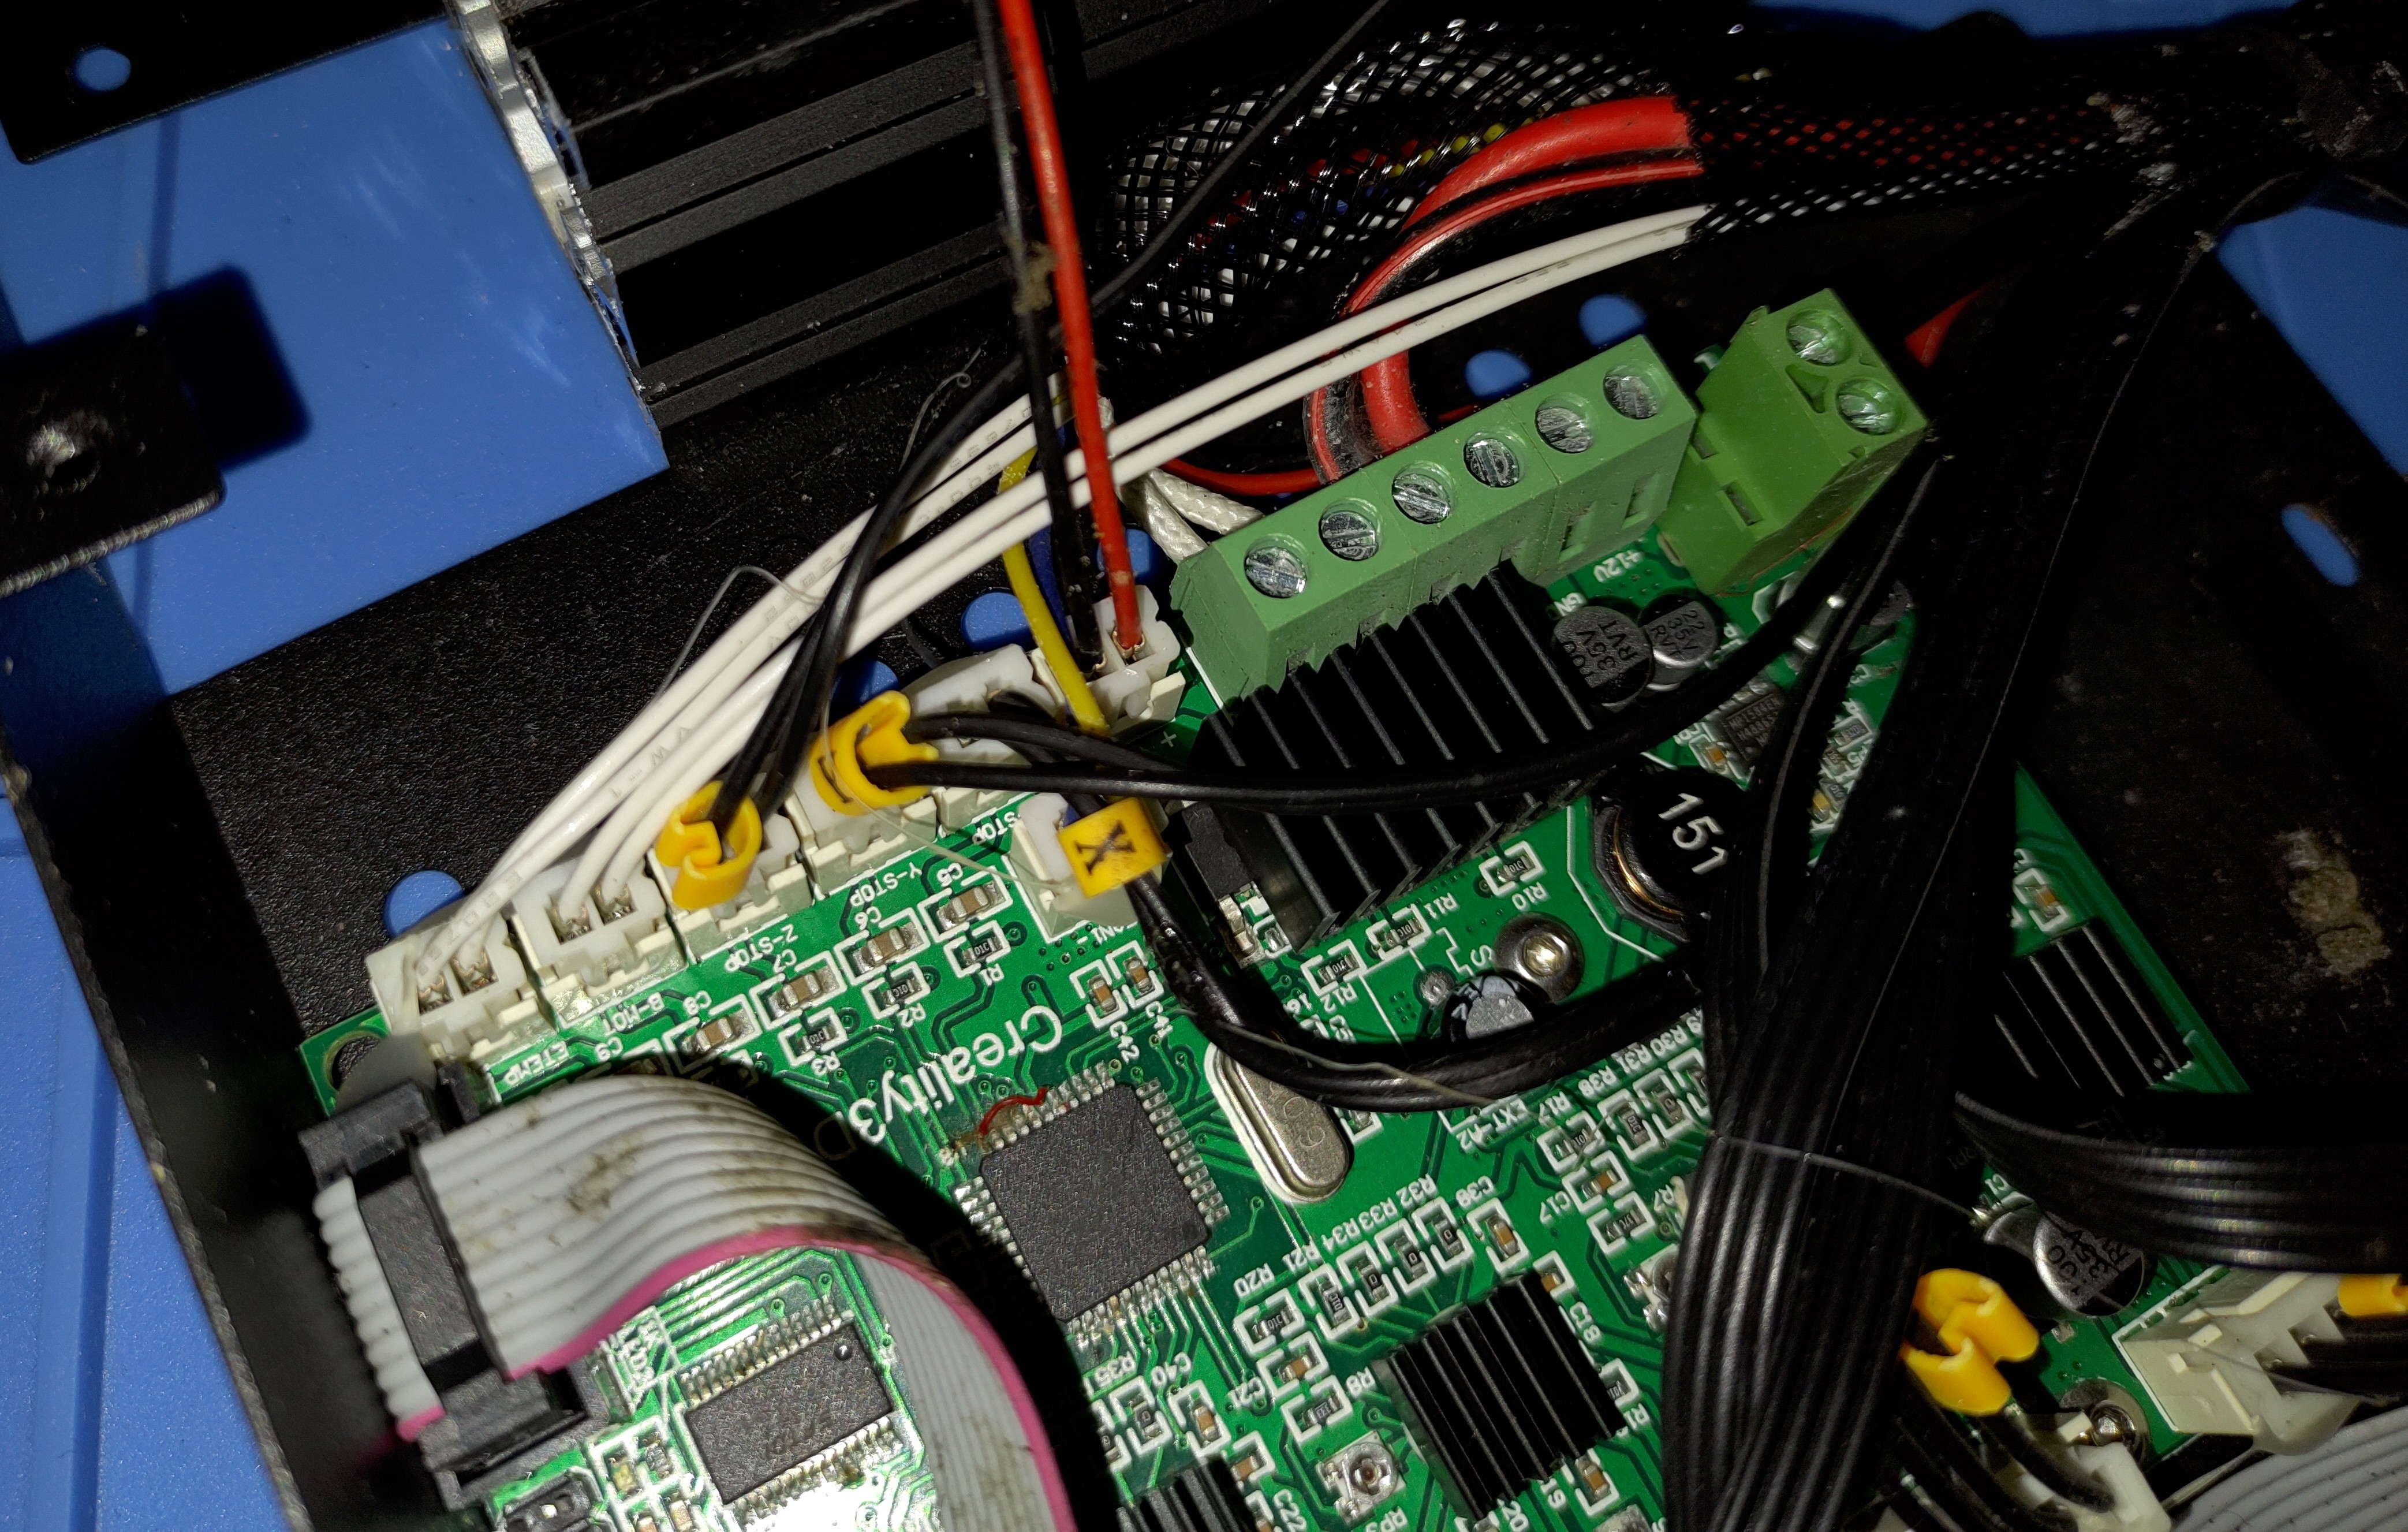
I’ve never seen cables grow mold… There also were what looked like droppings on the MCU of the controller board…
Upgrade
Consider this more my experience than a Klipper and Upgrade Tutorial! Follow the official Klipper documentation and check compatibility of different parts before purchase!
I decided to go the cheapest route, without sacrificing print quality or speed in major ways. I also wanted to try out Klipper, so I went with the BigTreeTech SKR Pico Control Board. It’s based on the RP2040 Microcontroller and has just enough ports to run everything on the Ender-3.
I went with a Triangle Labs Ceramic Heater Hotend. ⚠️ It heats up crazy fast while being affordable. It’s a drop-in replacement, as it features the standard Creality Hotend mount found on all their cheap printers.
Also, a BiQu MicroProbe. Super cheap and tiny!
Because the new Hotend was slightly shorter than the original one, I had to remix the MicroProbe mount.
Otherwise, the Probe would touch the bed when retraced, and the nozzle couldn’t get close enough to the Bed to print…
Find the Remix here or on thingiverse.
A Filament Runout Sensor has also been installed, and jankily mounted to the frame with Zip ties.
Installing Klipper
Sorry for the complaining, but everything that could’ve gone wrong, did, in the most hilarious way.
1. Installing Debian (RPi OS Lite) on a Pi
I was gifted a Raspberry Pi by my friend zazpro that I want to use for this poor thing of a printer. Thanks! :)
Flash RaspberryPi OS Lite to an SD Card.
Since it’s based on Debian it should be pretty stable. In my ~10 Years of Homelabbing I never managed to destroy a Debian Install.
For the little Pis you want to configure Wi-Fi before booting the first time! The Wi-Fi settings on the SD Card will only apply on the first boot!
Turns out there are modifications to this aforementioned stable that make certain things harder than they should be. We’ll get to those troubles soon enough.
2. Installing Klipper, Moonraker, Mainsail, …
Most of the time people mention “Klipper”, they actually mean the entire cast of the 3D Printing Machine Control Software Band: Klipper (Singer, only one everyone ever talks about), Mainsail (PR, only one everyone ever interacts with), Moonraker (drugs(?), the glue between them).
Instead of Mainsail, one couple also opt for Fluidd or Octoprint for the web interface. Singers often have multiple contacts for booking…
My analogy is slowly falling apart…
Why use Klipper over Marlin?
Unlike with Marlin, the control loops, movement calculations, etc. are run on a powerful Computer, compared to the tiny MCU on a control board. The MCU on the controller boards are dumb and only accept commands over serial, be it USB or a bare UART. That is actually one of the reasons why one could use an 8-bit board for Klipper without any printing performance degradation, like with Marlin. At least I don’t see why not. It only parses serial commands and does not need to compute heavy movement maneuvers.
Install Script
Thank god the 3D Printing community came together to produce scripts that handle the complete installation of Klipper et al.
I used the Klipper Install and Update Helper kiauh as it handles updates as well! Awesome!~ Thanks a bunch dw-0!
Just follow the README.md for Installation.
Making Communication between the MCU and Pi work
The biggest hurdle for me was configuring serial.
kiauh wants you to configure the MCU Software so that it’s able to communicate with your little Pi.
A configured binary is then uploaded to the MCU.
The SKR Pico allows Serial over USB, or alternatively, for a neater cabling setup, Serial over the same header that will supply my Pi with Power, directly from the SKR Pico
(for some reason this header has 5 connections: 2x 5V, GND, RX, TX).
I flashed the binaries multiple times, tried all sorts of baud rates, different UART ports on the Pi GPIO header, nothing worked. Mainsail was always telling me that the serial port aka the MCU wasn’t responding.
I tried Serial over USB as a last resort. Over a shitty USB-A to USB-A socket, pins soldered together, with a USB-A to USB micro-B cable plugged into the Pi and a USB-A to USB-C cable in the controller board. Who in their right mind owns a USB-OTG Adapter (I advise against reading that spec, USB is broken and has broken me before).
This worked! Serial works only over USB, not over dedicated UART links from the Pi to the MCU…
SYSTEMD
Raspberry Pi enables a service built into systemd: getty, by default on their system images. This allows you to hook up to the Pi and get a shell on any UART port. systemd was actively hijacking every singe UART by default.
Worse: the raspi-config command offers a setting to disable this. That setting is broken.
I could not get getty to get off my UARTs.
With getty disabled in the raspi-config, I tried to connect to the Pi over UART, but I was still gettyng a shell!
The fix is so simple too, simply disable and then mask the systemd getty service:
systemctl disable serial-getty@ttyS0.service
systemctl stop serial-getty@ttyS0.service
systemctl mask serial-getty@ttyS0.service
Then it finally worked over UART via the Pi GPIO!
I put this in the printer.cfg:
[mcu]
serial: /dev/ttyS0
restart_method: command
So far it’s printing reliably, no connection issues with the default baud rate (IDK lol). If they happen, I’ll report back.
3. Klipper Configuration
We (I) have a lot of special things to configure.
See my full configuration in my printer-config repository.
There is also a list of (read-only) configuration examples built-in to Klipper or is it Mainsail? IDK lol.
They follow a nice naming scheme: printer-creality-ender3-2018.cfg.
Funny that only Creality’s bloated Ender lineup has a distinction by year of release…
From there it’s easy enough to change all the settings to reflect the state of the physical machine.
(Micro)Probe Configuration
My Config uses the external microprobe.cfg provided by BiQu.
This config can be easily included in your printer.cfg by putting [include microprobe.cfg] at the top.
## --- BIQU Microprobe Klipper configuration ---
# Not much different from a standard probe config. The
# main difference compared to most probes is to disable
# deactivating the probe (PROBE_UP) after each sample
#
# You can either copy pasta this directly or import
# into your config.yml using [include microprobe.cfg]
#
# Note: if you are changing from a bltouch or one of its
# clones, remove/comment out the [bltouch] config!
# That also includes any auto generated config stored
# at the bottom by the PROBE_CALIBRATE command
#
# Note: the current control and sensor pin values are
# configured for the 'BTT SKR E3 mini V2' controller
# board. You may need to update these values depending
# on your controller board model.
#
# Update (2023-10-17): This config is configured for
# the V1 microprobe. V2 users must update the
# polarity of the sensor pin in the config to be
# pull-down (^!) not pull up (^)

[gcode_macro PROBE_DOWN]
gcode:
    SET_PIN PIN=probe_enable VALUE=1

[gcode_macro PROBE_UP]
gcode:
    SET_PIN PIN=probe_enable VALUE=0

[output_pin probe_enable]
pin: gpio29  # Set to the control pin on your board
value: 0

[probe]
# NOTE FOR V2 users: Set pin to ^! to set the low level trigger
pin: ^!gpio22
deactivate_on_each_sample: False
x_offset: -40
y_offset: 0
# z_offset Will NOT be overridden when you do a PROBE_CALIBRATE (doesn't work)
z_offset: 1.3
samples: 2
samples_tolerance: 0.05
samples_tolerance_retries: 3
activate_gcode:
    PROBE_DOWN
    G4 P500
deactivate_gcode:
    PROBE_UP
Next, remove the GPIO End stop Pin from your Z Stepper and replace it with the Z Probe:
[stepper_z]
#endstop_pin: ^gpio25
endstop_pin: probe:z_virtual_endstop
(Micro)Probe Calibration
Following the Klipper Probe Calibration Guide. Can be found here;
X/Y Probe Offset
probe_position: centered on bed
X 157.5 Y 127.5
nozzle_position: at last probe location
X 117.5 Y 127.5
To obtain your X and Y Offset, run a Home (G28), mark the probed position on the bed and jog (via the web interface to not lose the position) the nozzle to that previous probe position. Next, find the delta between those two positions and put them into your config.
Via Klipper: offset = probe_position - nozzle_position
This would produce a positive value for my X gantry, but the configuration only works if I invert the value!
Z Probe Offset
After Homing, run the PROBE_CALIBRATE Command and fine adjust the nozzle height.
This Command or Script will then print the Nozzle Offset in the Height (Z).
This should also be added to your config.
I had to readjust this once, as I was eyeing the Nozzle Offset.
ISSUE: Move out of Range
I had to add an exception to my config, so the Command would not run into software limits of the Safe Z Axis Movement Range:
[stepper_z]
position_min: -10
This should be removed after calibration. (Spoilers It wasn’t)
Bed Mesh
This one is easy, no hiccups.
Run BED_MESH_CALIBRATE and experience Magic.
Follow up with a test print and readjust the Z Offset until happy.
Note that Klipper (read: Mainsail) lacks the feature to live adjust the Z Offset!
The Printer will have to finish printing, before the Z Offset can be adjusted again.
You can save generated Bed Meshes in your printer.cfg.
That is very useful.
The saved Bed Mesh will then be loaded by default too!
Hot End
The only thing I had to lookup was the type of sensor the CHC Hot End uses. It’s available in multiple sensor variants.
# Default Sensor of TriangleLabs CHC
sensor_type: ATC Semitec 104NT-4-R025H42G
Tell Klipper the type of sensor and it does the rest. Awesome!
Filament Runout Sensor
That’s all there is to it!
Don’t forget the pause_on_runout: True statement.
[filament_switch_sensor runout_sensor]
switch_pin: !gpio16
pause_on_runout: True
Fans
Similar to the CR-10 I have, I wanted more silence. And I got more silence. Fans only turn on when needed. The Hot End Fan is only on when the Hot End has temperature or is powered on. This was all pre-configured:
[fan]
pin: gpio17

[heater_fan heatbreak_cooling_fan]
pin: gpio18

[heater_fan controller_fan]
pin: gpio20
Neo Pixels
I also reduced the intensity of the on-board Neo Pixel, it was a little bright!
[neopixel board_neopixel]
pin: gpio24
chain_count: 1
color_order: GRB
initial_RED: 0.3
initial_GREEN: 0.3
initial_BLUE: 0.3
Thoughts
That’s it! I’m pretty happy with Klipper. Making changes to the printer’s configuration is sooo easy and fast! There is no reason to keep a broken config or a not quite working feature unfixed. Trying new things is nice as the amount of time between thinking about it and implementing it, and then seeing it work or most often not quite, is really short.
I’m a little annoyed by the CHC Hot End, because feeding in filament is tougher than it should be. When I insert filament, It goes down the Bowden tube and catches on a ledge, between the tube and the CHC Hot End… I tried reseating the Bowden tube and the CHC Hot End looks fine inside. The temporary fix (read: permanent) is that I sharpen the filament like a pencil before insertion.
Future plans for this Frankenstein construct of a printer may include a CoreXY Conversion and/or Enclosure build.
Having a big slow printer like the CR-10, and then a little, fast, enclosed printer would be great.
I wouldn’t consider my 3D printers perfect, but It’s funny to me that they are more reliable than any 2D printer I’ve owned so far. This excludes laser printers of course.